SALE
D.I.D
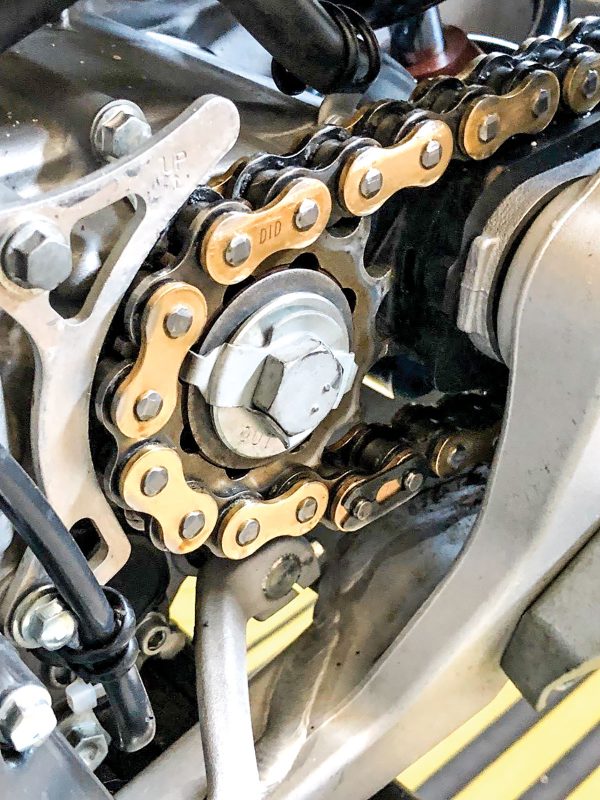
D.I.D ERT3 Non O-Ring Gold Chain 520
$115.95
$92.76
Browse our complete selection of premium aftermarket drive chains to keep your dirt bike competitive.
D.I.D
$115.95
$92.76
D.I.D
$139.95
$111.96
ProTaper
$109.99
$87.99
ProTaper
$69.95
$55.96
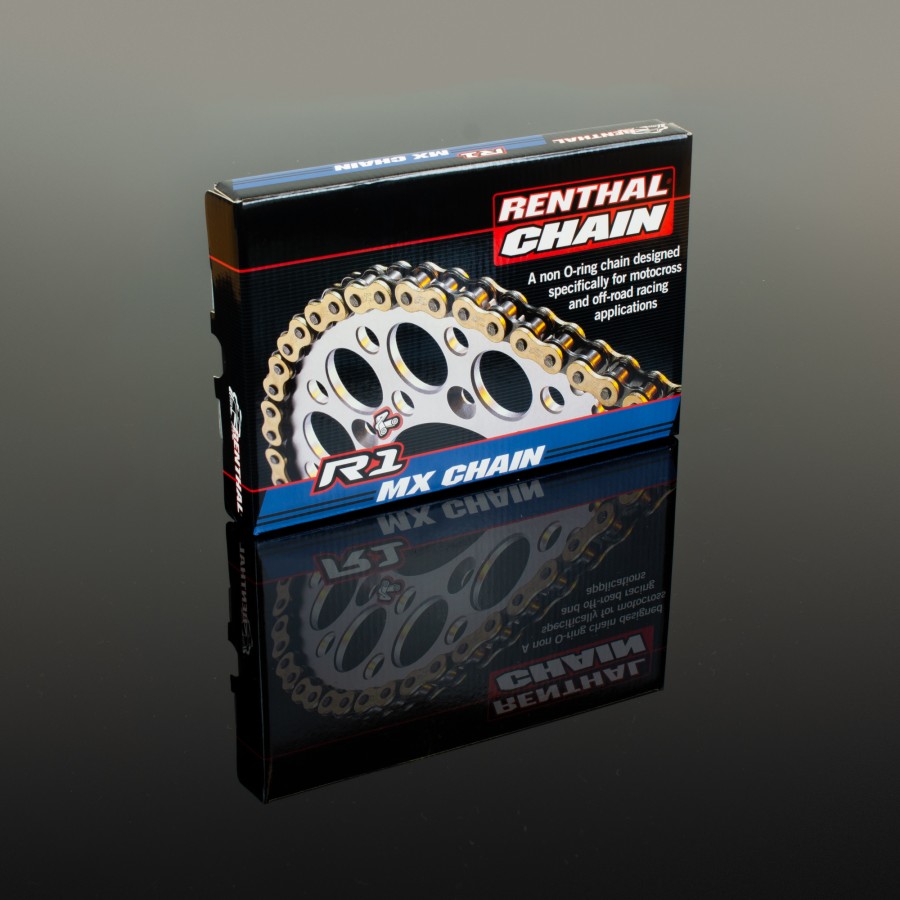
Renthal
$89.95
$71.96
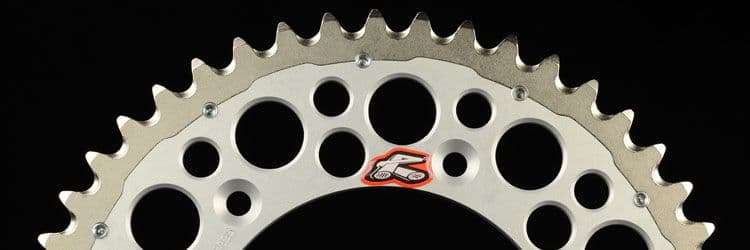
Renthal
$119.95
$95.96
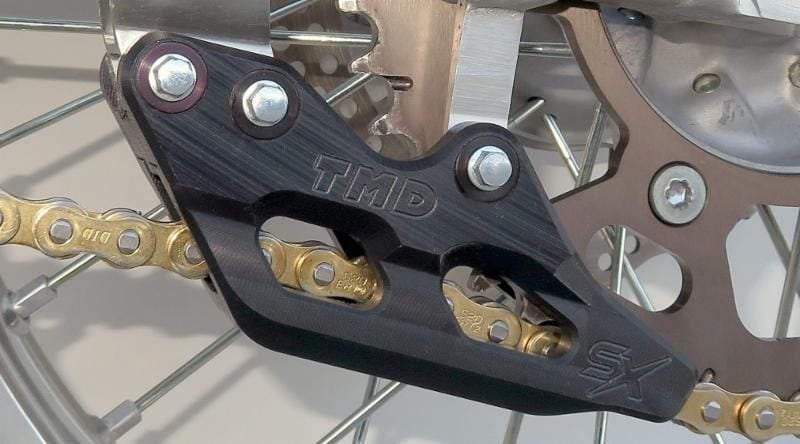
TM Designworks
$99.95
$79.96
### The Mechanical Role of Driveline Components The motorcycle driveline system—comprising the countershaft front sprocket, drive chain, rear wheel sprocket, and chain guide—is responsible for transmitting 100% of engine torque to the rear tire. In off-road and motocross racing, the driveline operates under violent shock loads: instantaneous power surges out of corners, sudden deceleration during heavy braking, and extreme swingarm flex across deep ruts. The drive chain must withstand immense tensile loads exceeding 8,000 lbs while resisting abrasive sand, mud, and water slurry that constantly attempts to grind down pins, bushings, and sprocket teeth.
### Common Stock OEM Failure Modes & Material Vulnerabilities Factory production drive components wear out rapidly when subjected to abrasive competition conditions: 1. Rapid Chain Elongation (Chain Stretch): Standard non-sealed OEM chains utilize budget carbon steel pins that wear down inside the bushings. As the pin diameter decreases, the chain elongates, throwing off sprocket pitch and accelerating tooth wear. 2. Aluminum Sprocket Tooth Hooking: Soft aluminum rear sprockets quickly develop hooked, 'shark-fin' teeth in mud and sand, which causes the chain to climb the teeth and snap or derail. 3. Bent Aluminum Chain Guides: Stamped aluminum factory chain guides easily bend inward upon rock or rut impact, derailing the drive chain and cracking fragile engine cases.
### Chain Sizing, Slack & Installation Protocols Wrap the new chain around both sprockets with the rear axle adjusted forward in the swingarm blocks. Mark and trim the chain to length using a chain breaker tool. Install the master link, ensuring the clip's closed, rounded end faces the forward direction of chain rotation. Adjust chain slack to 50-55mm (approx. 3 fingers) measured from the swingarm slider to the chain center. Torque the rear axle nut to 100-110 Nm.
A: A worn chain elongates and cuts an altered pitch profile into the sprocket teeth. Installing a new chain on old sprockets forces the new chain rollers to ride on the tips of the worn teeth, causing rapid chain destruction.
A: The closed, solid end of the clip must always face the direction of forward chain rotation so that trail debris pushes the clip on rather than unseating it.
A: Place the bike on a stand with the rear wheel suspended. Measure the vertical distance between the top of the swingarm slider and the bottom of the chain links at the tightest spot in the chain.